Today I’m going to show you how to merge the power of containers implemented by Docker and Spring Boot application.
I’m going to use app from one of my previous articles – https://rocketzki.com/index.php/2019/07/21/creating-spring-boot-app-with-persisted-login-and-thymeleaf-templates-how-to/. I will show you how to create docker image so our app can be deployed easily using containers.
First of all we need to install Docker on our PC. https://www.docker.com/ – you need to create account on the website and download docker for desktop. After installation we need to download project from git: https://github.com/rocketzki/boot-persisted-thymeleaf
We need to edit build.gradle file. I have used gradle plugin which is great assistance when building docker image from gradle project.
build.gradle
buildscript{
    dependencies{
        classpath 'gradle.plugin.com.palantir.gradle.docker:gradle-docker:0.13.0'
    }
}
plugins {
    id 'java'
    id 'com.palantir.docker' version '0.22.1'
    id 'org.springframework.boot' version '2.2.0.RELEASE'
}

group 'how-tos'
version '2.0'

sourceCompatibility = 1.8

repositories {
    mavenCentral()
}

dependencies {
    testCompile group: 'junit', name: 'junit', version: '4.12'
    compile group: 'org.springframework.boot', name: 'spring-boot-starter-security', version: '2.1.5.RELEASE'
    compile group: 'org.springframework.boot', name: 'spring-boot-starter-web', version: '2.1.5.RELEASE'
    compile group: 'org.springframework.boot', name: 'spring-boot-starter-data-jpa', version: '2.1.5.RELEASE'
    compile group: 'com.h2database', name: 'h2', version: '1.4.199'
    compile group: 'org.springframework.boot', name: 'spring-boot-starter-thymeleaf', version: '2.1.6.RELEASE'
    compile group: 'org.thymeleaf.extras', name: 'thymeleaf-extras-springsecurity5', version: '3.0.4.RELEASE'

}


configurations {
    jar.archiveName = 'boot-persisted-thymeleaf.jar'
}


task unpack(type: Copy) {
    dependsOn bootJar
    from(zipTree(tasks.bootJar.outputs.files.singleFile))
    into("build/dependency")
}

docker {
    name "${project.group}/${bootJar.baseName}"
    copySpec.from(tasks.unpack.outputs).into("dependency")
    buildArgs(['DEPENDENCY': "dependency"])
}
Firstly, we need to add a dependency to the buildscript so that we can use the gradle docker plugin. Then we add
id ‘com.palantir.docker’ version ‘0.22.1’
id ‘org.springframework.boot’ version ‘2.2.0.RELEASE’
to add dependency to the plugin itself.
At the end we add unpack task for unpacking fat jar (jar created by bootJar task) which copies all files with libraries to the build/dependency folder.
Then we need to configure the docker gradle task. I will set the name for the image – it is set up from the jar file properties , copy dependencies from the dependency folder (to which we have copied libraries using unpack task), point that the application with its dependencies (DEPENDENCY variable passed as a build argument) is located at dependency folder.
Ok so now we have gradle project set up for dockerization. We need to write a core file which describes docker image creation – Dockerfile.
Dockerfile
FROM openjdk:8-jdk-alpine
VOLUME /tmp
ARG DEPENDENCY=build/dependency
COPY ${DEPENDENCY}/BOOT-INF/lib /app/lib
COPY ${DEPENDENCY}/META-INF /app/META-INF
COPY ${DEPENDENCY}/BOOT-INF/classes /app
ENTRYPOINT ["java","-cp","app:app/lib/*","com.rocketzki.persistedthymeleaf.TheApp"]
EXPOSE 8080
Dockerfile contains instructions for the docker image building process. Each instruction creates immutable layer is put on the top of the previous one. More info on that builder can fe found: https://docs.docker.com/engine/reference/builder/
As a base image I have used Alpine linux distro with openjdk 8. The volume mounted at/tmp is added because Spring Boot application creates working directories for Tomcat in that folder by default. Then I am addin a variable DEPENDENCY pointing to the folder with unpacjet fatJar (done by unpack task describe previously). In the next step I copy BOOT-INF/lib directory with dependency libs, and a BOOT-INF/classes directory with the application classes itself.
ENTRYPOINT instruction runs the main application class by default when the container starts.
Last instruction tells docker builder to open port 8080 on the container. The Spring Boot application is set by default to serve content on that port.
All we need to do now is to run the docker image building process! Open terminal in you InteliJ (or Eclipse) being in the project directory and type: gradle docker (the Docker Desktop applicaiton must be running!).
Once the process is finished you can type: docker images to check if it has been created.
REPOSITORY                         TAG                 IMAGE ID            CREATED             SIZE
how-tos/boot-persisted-thymeleaf   latest              9eb948dc2677        6 hours ago         147MB
To run the application type: docker run -p 8080:8080 how-tos/boot-persisted-thymeleaf
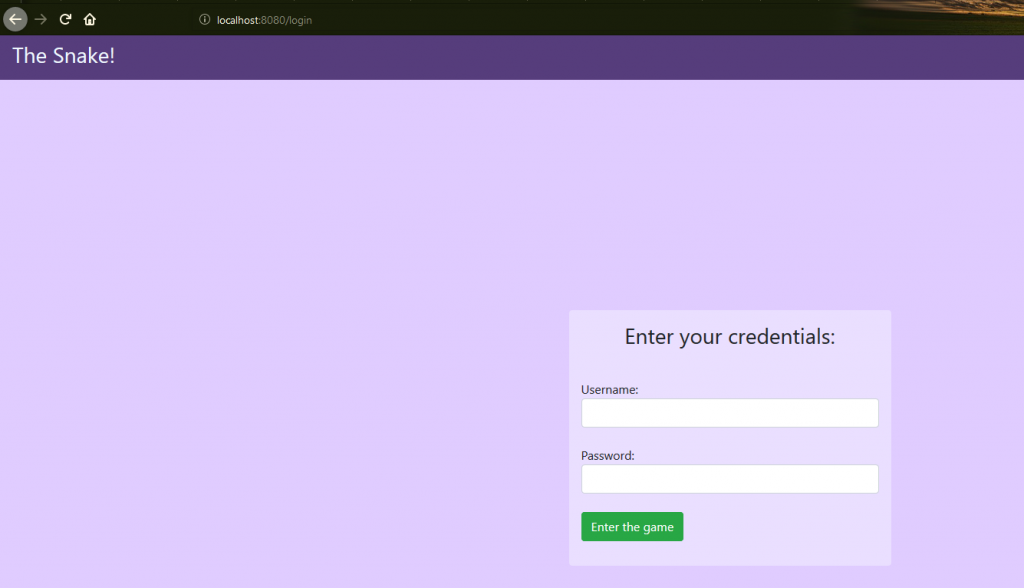
The appliction starts up and is ready do run at: localhost:8080
The -p 8080:8080 flag binds port 8080 on the host machine to the port 8080 on the container (under which the app is served – HOST_PORT:CONTAINER_PORT).

Application starts quickly and works reliably.
I have showed you how to quickly move our Spring Boot app to Docker image and how to run it using gradle and Docker of course. See you round!
Should you have any questions, don’t hesitate to reach me via linkedin, facebook, email or via comments.


That’s a good one! Thanks